
So you don't want to lose Windows Movie Maker but you still want to upgrade to Windows 7 right? Well don't worry, you can still get it back. How you might ask? Well read on to find out.
To get Windows Movie Maker onto Windows 7, you will need an older version of Windows that already has Windows Movie Maker on it. It doesn't really matter which version. So let's get started.
Equipment you'll need:
1. USB Flash Drive (128 MB should be enough)
Steps:
- Go to "My Computer" and open up the C drive.
- Go to the "Program Files" folder.
- Scroll down to the middle and there should be a folder called "Movie Maker"
- Copy the entire folder and all its contents to your USB Flash Drive
- Plug the flash drive into your Windows 7 computer
- Copy the Movie Maker folder to wherever you want on that computer
- Open up that folder and click on the file called "MOVIEMK.EXE"
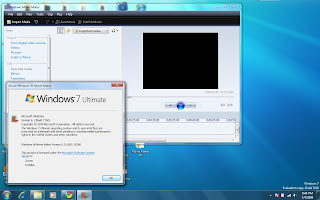
You now have Windows Movie Maker running perfectly on your Windows 7 computer. This method will work for all versions of Windows Movie Maker including the original Windows ME version. Hope this tutorial will help all of you Movie Maker veterans out there. Good luck and happy movie making!